
Pretty Theme Backtrack Desktop

If you install backtrack, at first you will found the default theme is "Dust". With backtrack default wallpaper, this combined into appearance which screamed for several person, because backtrack is well known as 'hacker' OS. So, we want make a change the default appearance of backtrack to pretty appearance. It's only need a few minute and you will get a pretty appearance on your backtrack.

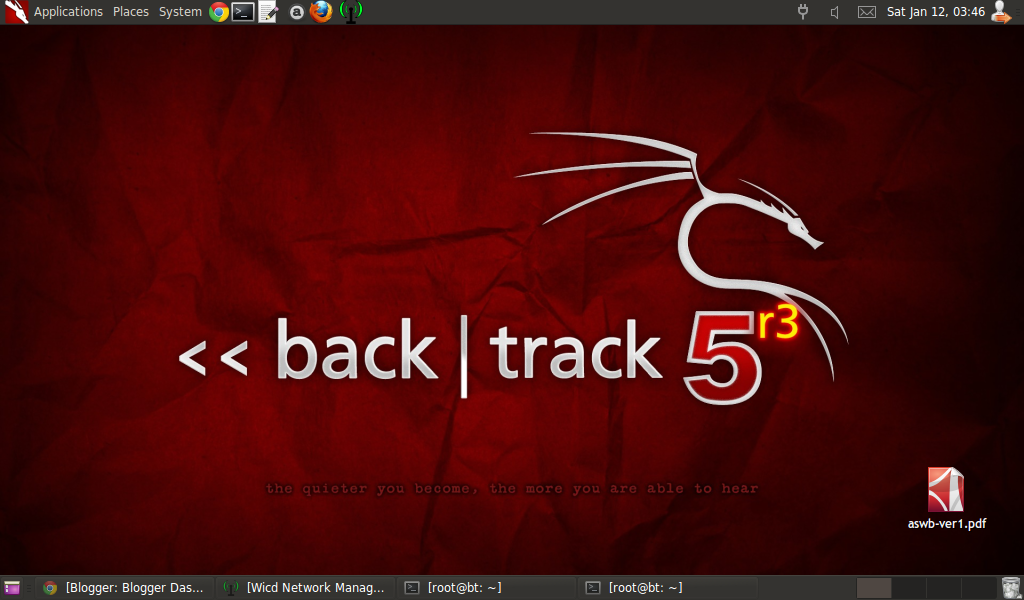
backtrack default appearance
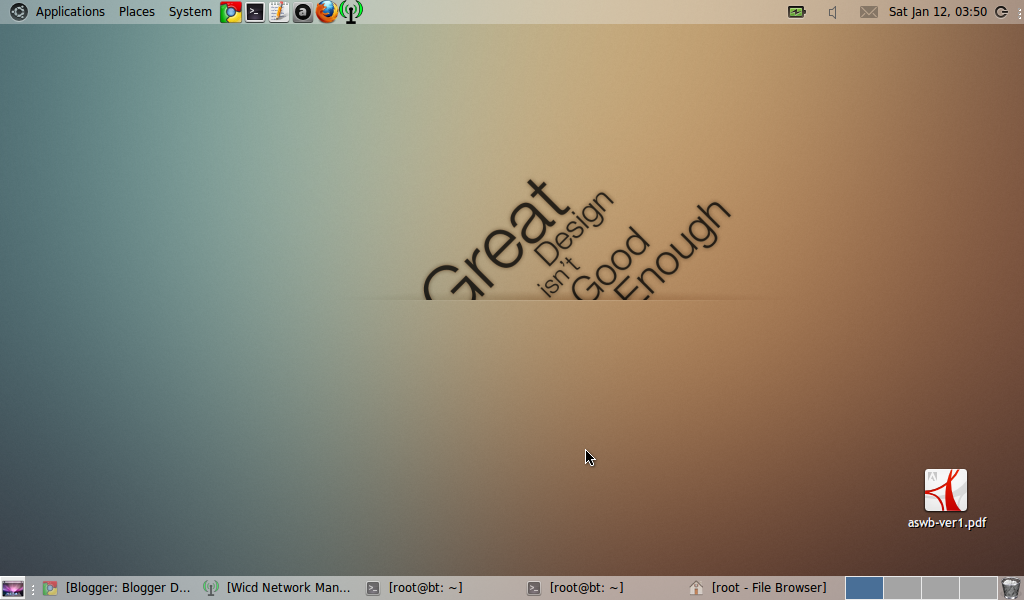
pretty appearance of backtrack

What you need: Re Crono GTK (download here), Faenza Mac icon (download here), Aqua Mac Cursor (download here), some fonts (download here) and some wallpaper to change the backtrack default wallpaper. Ok, we are begin.
  1. First, download Re Crono GTK, Faenza Mac cursor, Aqua Mac Cursor, don't unpack it.
  2. Then go to Appearance, access it from System >> Preferences >> Appearance.
  3. Click Install, now search file Re Crono GTK, click. It will be installed Re Crono GTK.
  4. Repeat the same step 3, to install Faenza Mac icon and Aqua Mac Cursor.
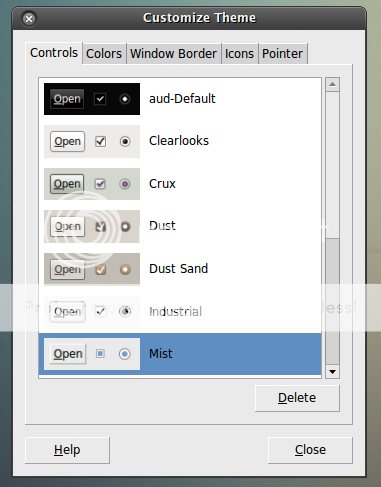
  5. After that click Customize, then select on Controls tab, "Mist".
  6. custom-control
  7. On Window Border >> Re Crono; Icons >> FaenzaMac; Pointer >> Mac_OSX_Aqua.
  8. Now, click close, you will found that your appearance going to changed.
  9. Download some wallpaper below (to download, right click, select Save Image As).
  10. Still on Appearance, click tab Background, then click Add. Add at least one wallpaper which you like, finished by select Open.
  11. Go to Panel, right click and select properties. Click Background tab, select Solid color, click Color, you will be go to Color select, click Eye Dropper, select on the Properties Dialog, then click OK. Set Transparent level on Style. Repeat this step to the other panel.
  12. Right now, we have a half pretty of appearance, now we are going to change the fonts.
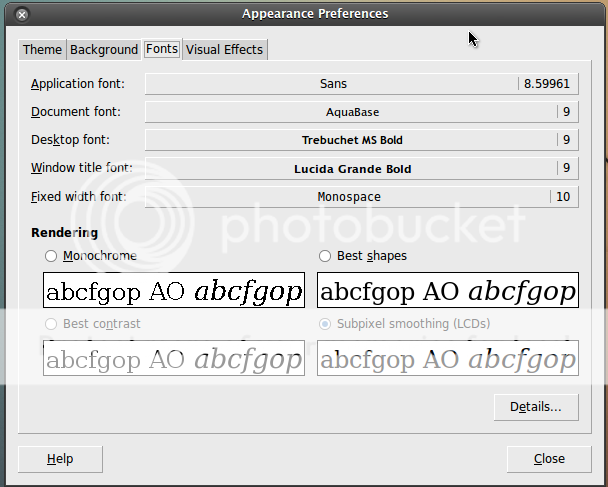
  13. Download and unpack the fonts which I'm attached above. Rename the directory into ".fonts" and move into root home (/root). Get back to Appearance, select Fonts tab, configure the font like this picture below.
  14. custom-fonts
  15. Viola, now your desktop are prettier than default desktop of backtrack.
Some wallpaper which pretty.
Bamboo
Snow Leopard
gDIGE
You can modify into another configuration, it will improve your desktop appearance.

Comments

Popular posts from this blog

Indonesian Dark Wordlist

Indonesian Dark Wordlist adalah proyek baru dari Unlisted Developer yang menghasilkan kumpulan kata (wordlist) berbasiskan pada Kamus Besar Bahasa Indonesia (KBBI) untuk berbagai keperluan, misalnya teknik bruteforce atau aircracking . Kami masih melihat proyek-proyek sebelumnya masih tidak jelas kelanjutan proyeknya dalam membuat Wordlist, maka dari itulah kami membuat proyek ini sebagai jembatan kepada teman-teman lain yang membutuhkan wordlist yang lengkap tanpa harus bersusah-susah meng- generate . Mengingat proyek ini masih dalam tahap awal, maka banyak sekali kelemahan-kelamahan yang ada, sehingga kami mengharapkan kritik dan saran yang membangun, supaya kami bisa berbenah dalam setiap tambahan waktu. Selain itu, kami juga masih membuka peluang kepada teman-teman yang ingin bergabung dalam proyek ini, silahkan menghubungi saya via email atau tinggalkan komentar pada tulisan ini. Tidak ada syarat ketentuan khusus, hanya syarat umum yaitu bisa mengoperasikan komputer (mengerti...

Bypassing Nokia Maps N9

Nokia N9 have maps application, both of Nokia Maps and Nokia Drive are related one to other. But the same problem with Nokia Drive on Nokia N9 also occur in Nokia Maps (see here ). Nokia Maps also need logged in Nokia Account before you can use Nokia Maps. So I think the same way with bypassing Nokia Account in Nokia Drive will be succeed too in Nokia Maps. The same step can be read on my previous post here , until preparing the configuration Nokia Drive download. Okay let's go! First, make sure you have installed Filebox and setting to show hidden files and show root filesystem. Open browser on your N9 and download Modified Nokia Maps Configuration here . Don't press clear when the download has finished, just tap Done. Go to Filebox, and navigate to /home/user/MyDocs/Downloads , you'll found Maps.conf there, copy and paste this file into /home/user/.config/Nokia . But I recommend you if there's existing Nokia Maps Configuration backup it into Maps.conf.bak the ...

Installing Hexedit on Kali Linux

Hexedit, is tool to edit the hex file. Hex file may contain a binary package which can be execute, after it has been compiled from the source code. Remembering on the last Backtrack, this tool still packaged with about over 300 another tools which ready to doing pentest action. But when I have installed Kali Linux, I did not see that tool again. Although there is another tool like GVim, but I more like Hexedit than another tool. Because Hexedit is lightweight. So we don't need a big resource to using that tool. Okay, because I did not found Hexedit on Kali Linux, I will installed it from the Kali or Debian repository. It the best way to installed Hexedit on Kali Linux. First, you need to open the source of your repository at /etc/apt directory. root@h3:~# leafpad /etc/apt/sources.list Second, add the new source of Kali repository (see recommended repository for Kali Linux ), save and exit. deb http://mirror.nus.edu.sg/kali/kali kali main Third, you can running update of apt...